

Mannequin Mania!

Handcrafted painted Mannequin Head by Violinkit. See how below........
So I've been wanting to create something like this porcelain-like head for quite some time. My reason is mainly to showcase my many vintage hats that will be for sale shortly in my New Shop.

These heads will be available to purchase on Violinkit shortly and are ideal as a hand crafted piece of art for any bedroom or boudoir. They are also ideal to show case your favourite hat!
I used a polystyrene (Aeroboard) head and layered it with about 6 sheets of tissue paper to create a fine paper mache effect. I used wall - paper paste to do this but any acrylic glue mixed with a little water will do. The paper mache also has the double effect of making the head a little heavier and therefore more durable.

STEP ONE.....Polystyrene Head!
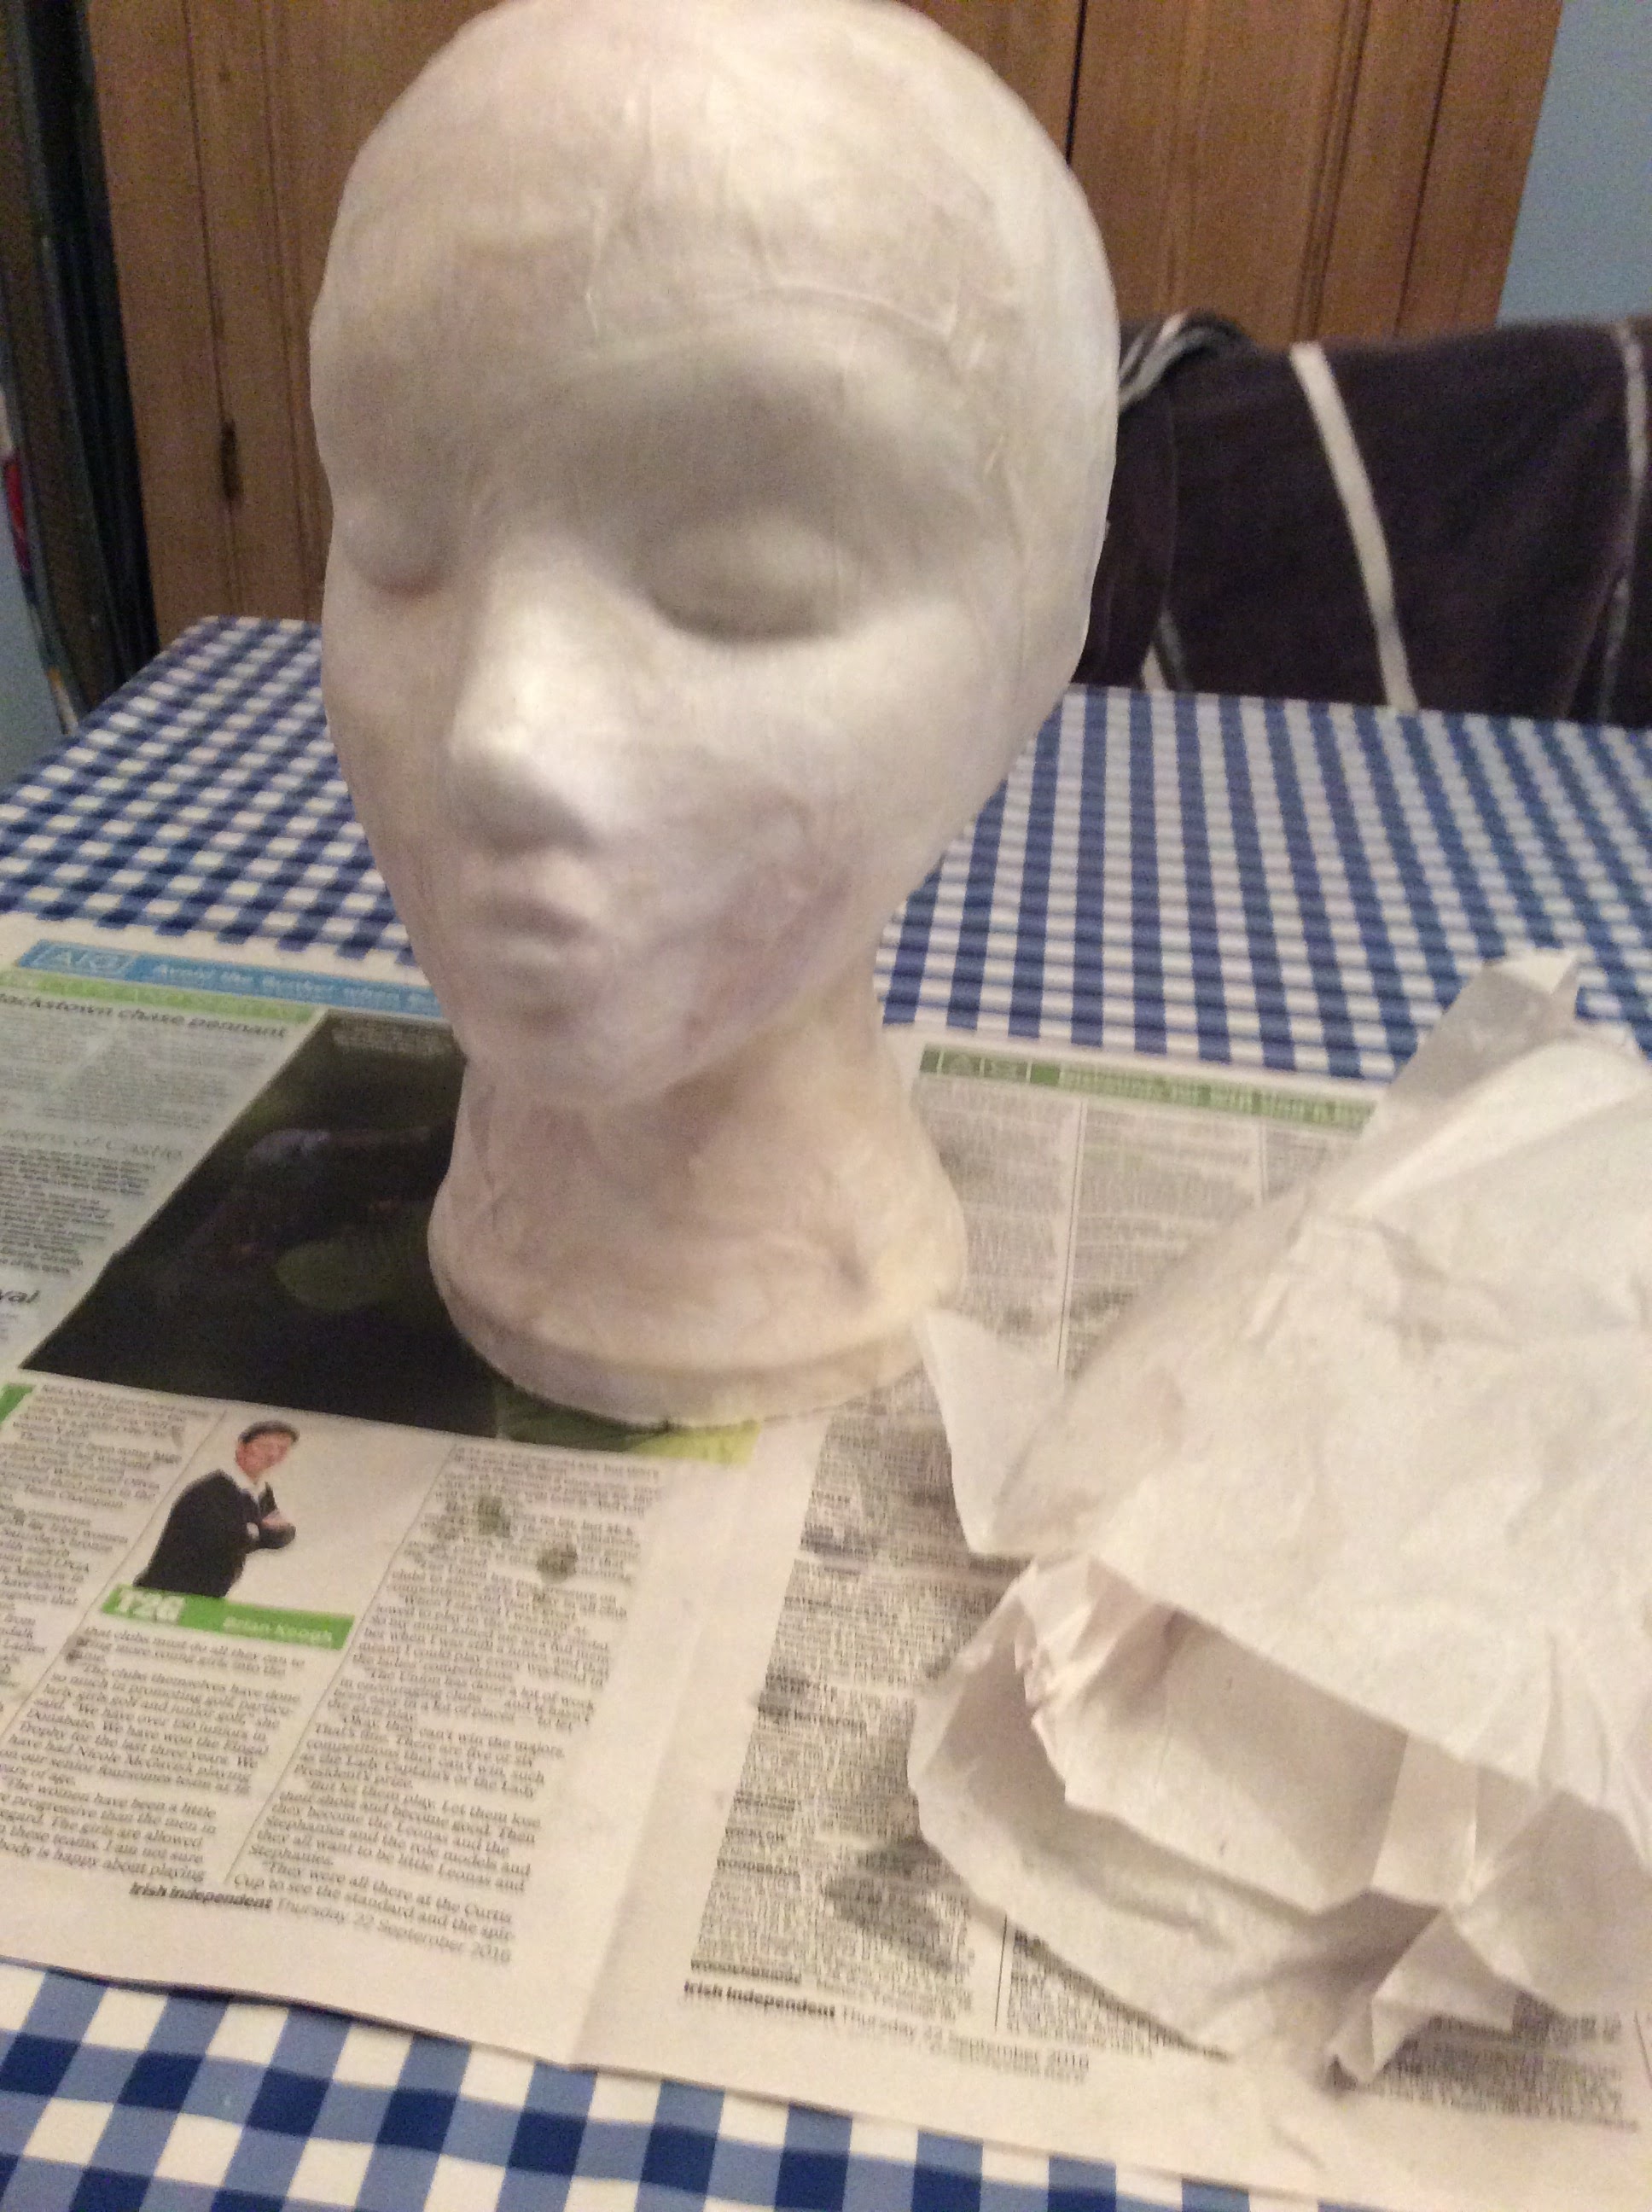
STEP TWO.......Fine tissue paper was applied

Layer upon layer was carefully applied with a drying time of 12 hours between layers
When completely dry I then applied three coats of Acrylic white paint drying each coat between layers. I then used flesh coloured acrylic paint to subtly colour the cheek area and planned my over-all look for the head. I used black acrylic for the hair giving her a vintage 1920's/30's look. The eyes and eye lashes are exaggerated to give a high octane vibe. Lastly I used a vintage red to give her that classic red pout.

High Octane Quirky Finish
Last but not least I used a high gloss Acrylic varnish and applied about 3-4 coats drying in between. I did this outside which is very important for a healthier application . The high gloss option gives the head a porcelain finish with the added advantage of the lightness of the polystyrene.
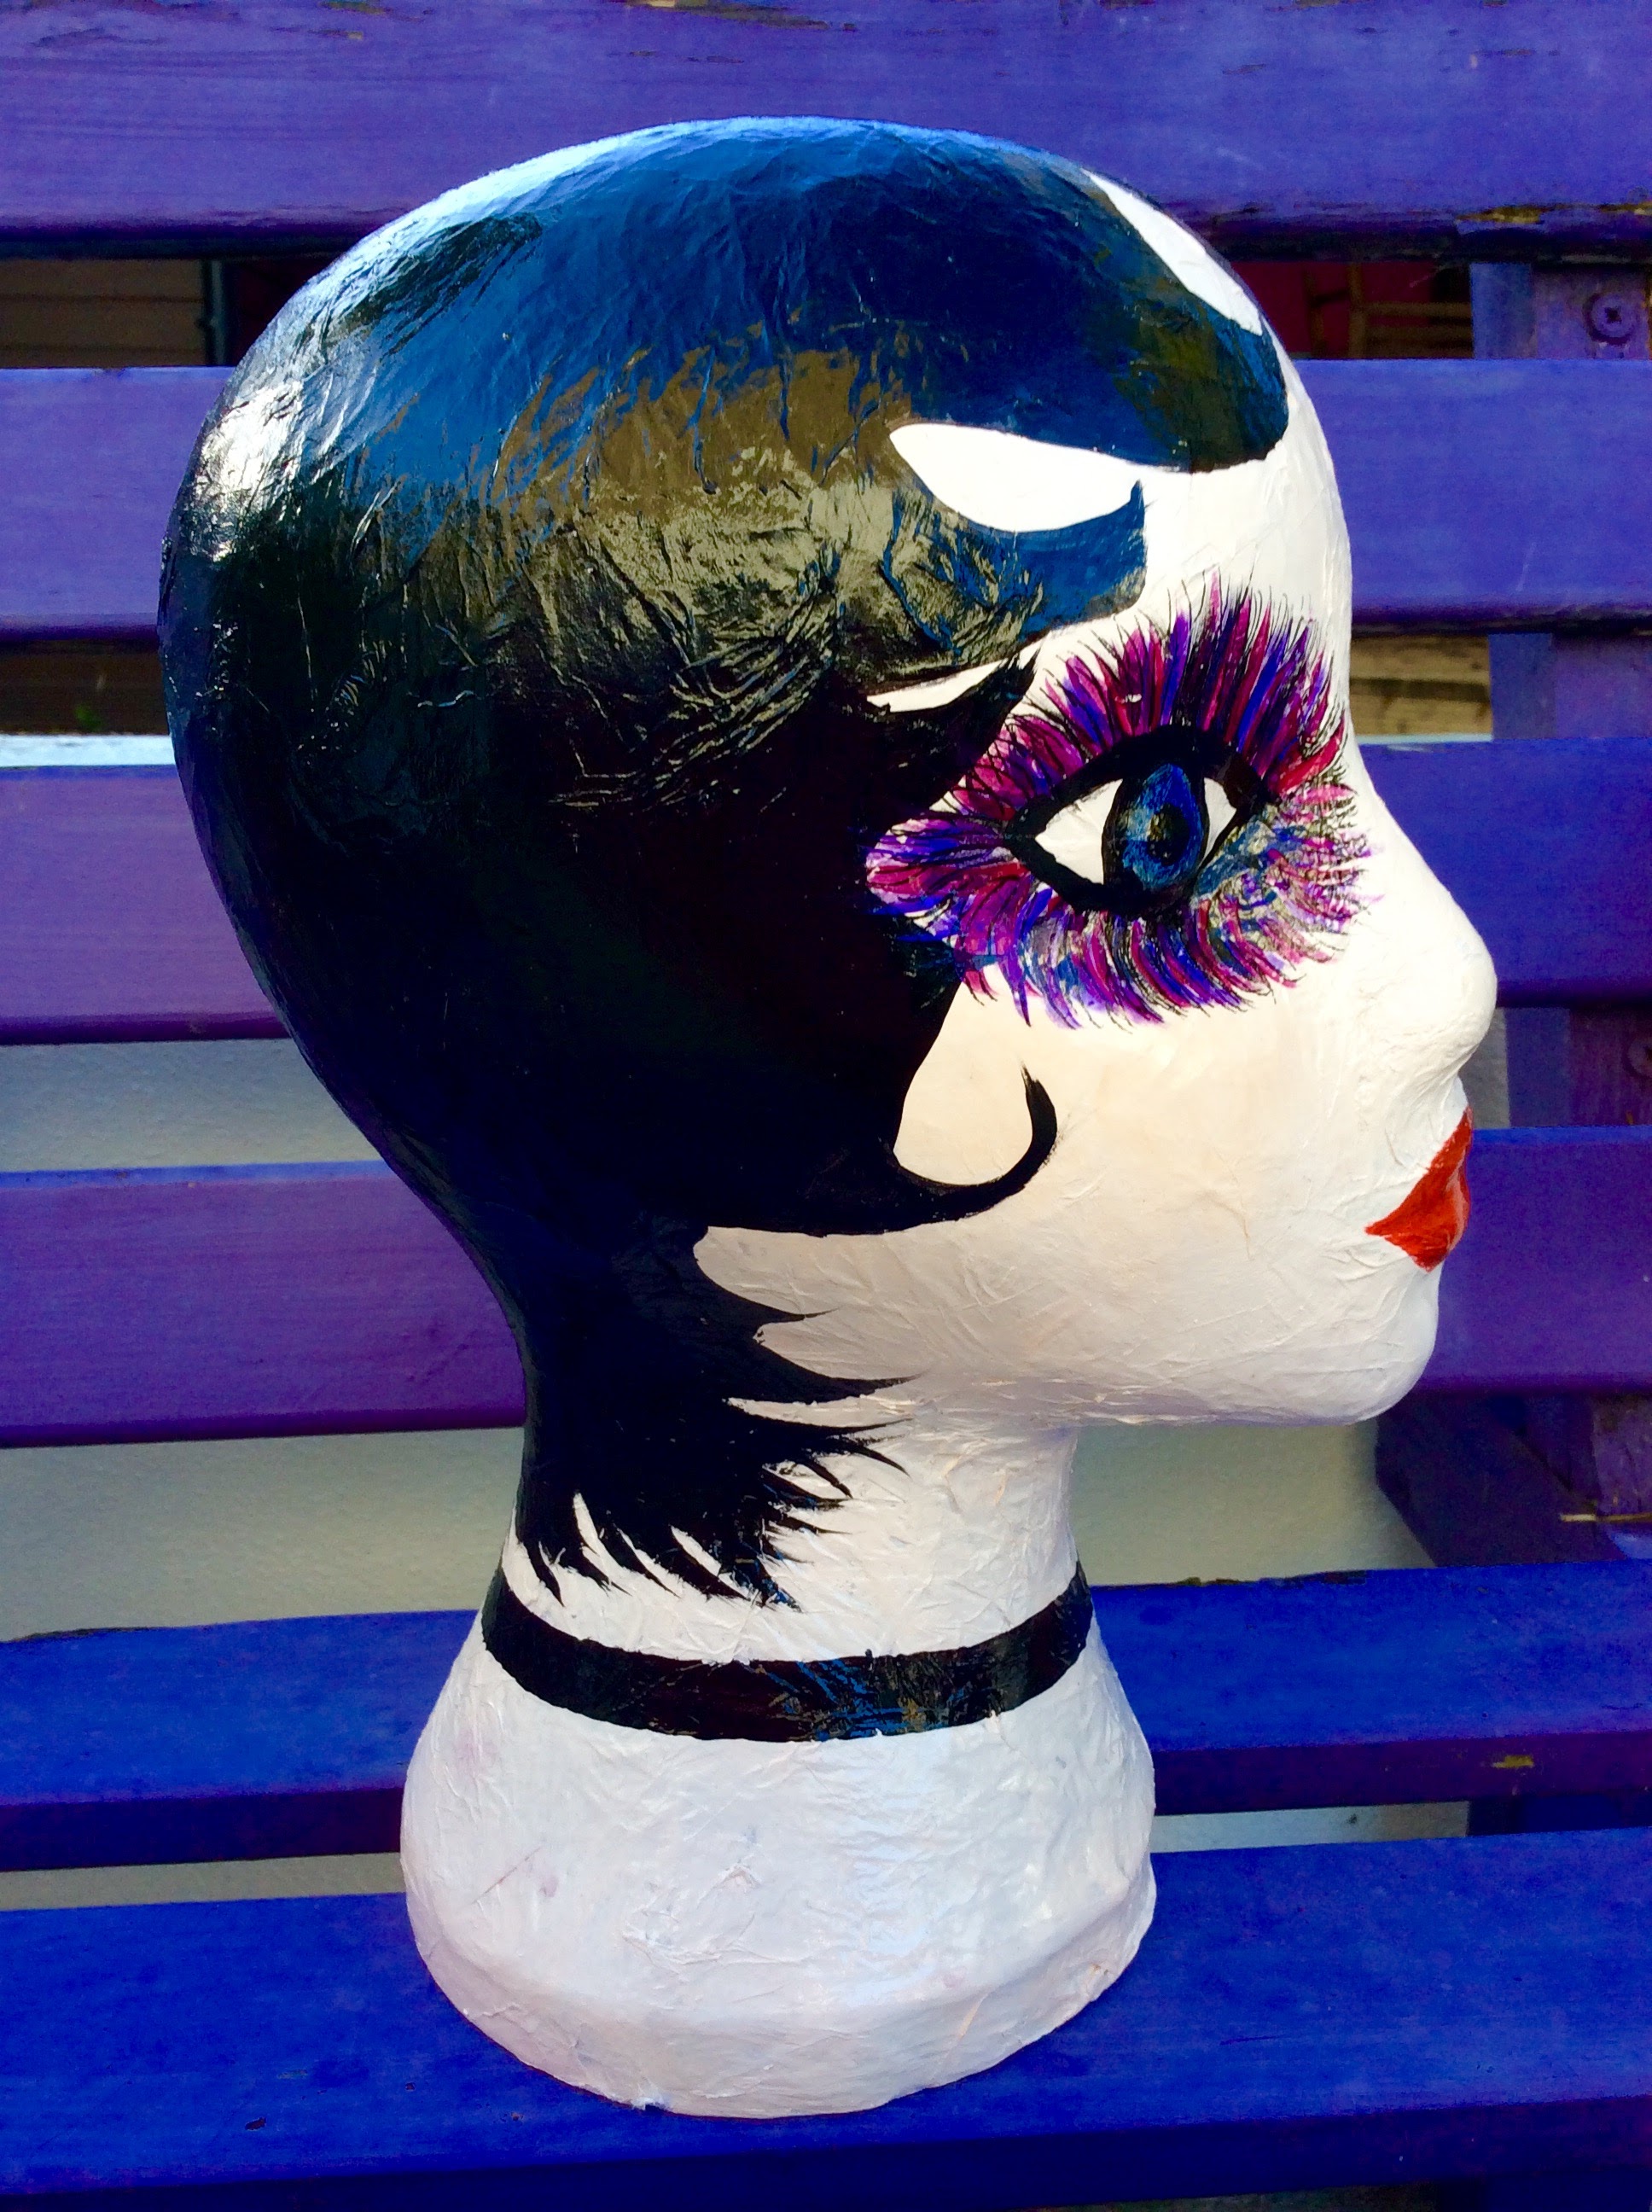
Shiny high gloss finish!
I hope you've enjoyed this post. Let me know what you think and if you fancy a similar piece please let me know in the messages.
LOVE AS ALWAYS VIOLINKIT XXX


